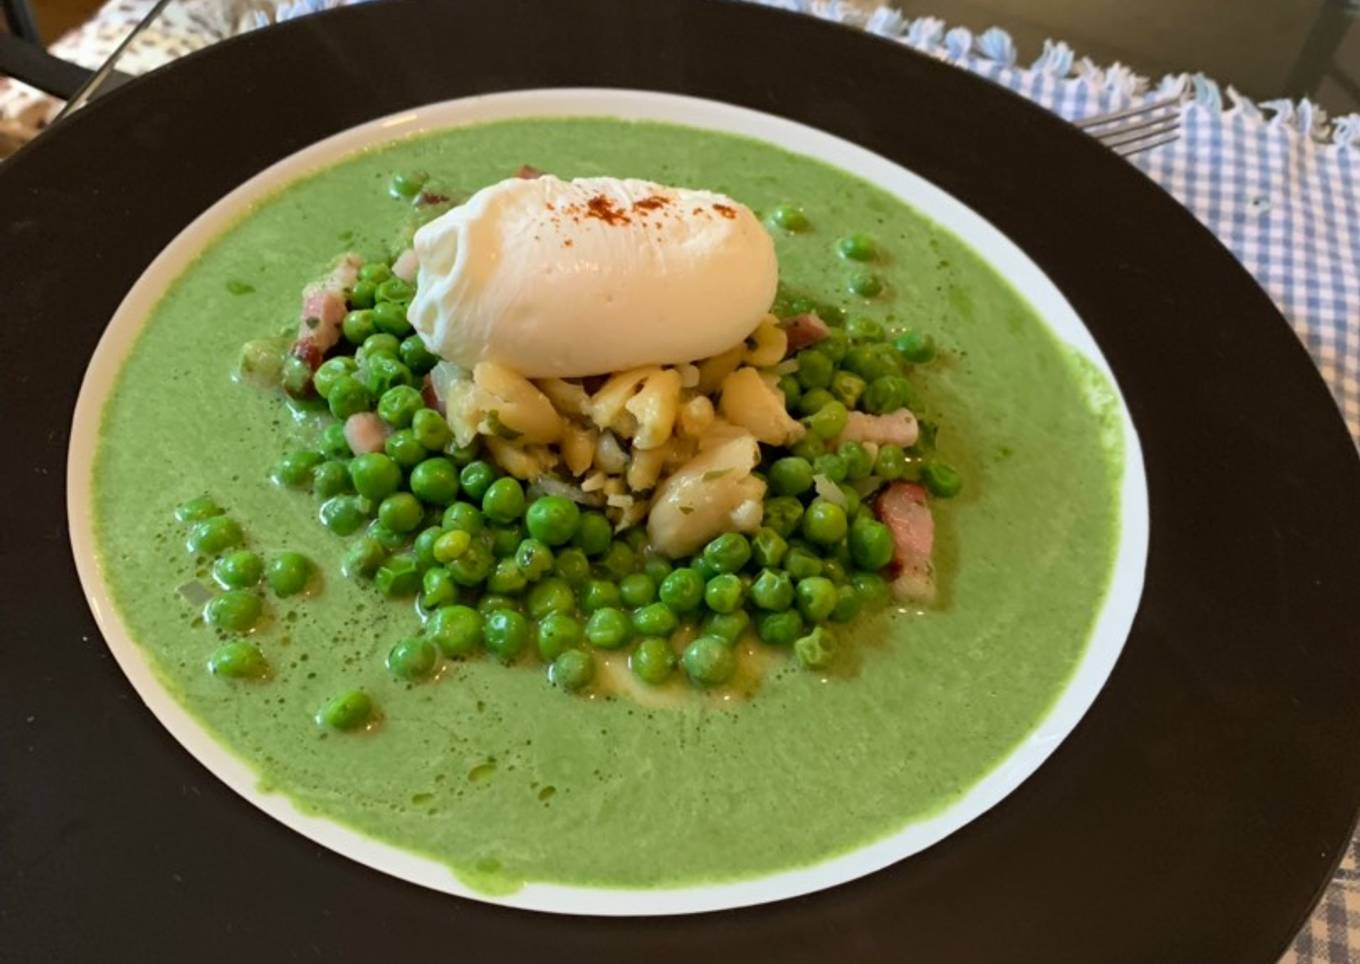
Chicons BraiséS à La BièRe
Hey everyone, hope you are having an incredible day today. Today, I will show you a way to prepare a distinctive dish, Chicons braisés à la bière. It is one of my favorites. This time, I am going to make it a little bit unique. This is gonna smell and look delicious.
Chicons braisés à la bière is one of the most popular of recent trending meals on earth. It's simple, it is fast, it tastes delicious. It's enjoyed by millions every day. Chicons braisés à la bière is something that I've loved my whole life. They are nice and they look wonderful.
Many things affect the quality of taste from Chicons braisés à la bière, starting from the type of ingredients, then the selection of fresh ingredients, the ability to cut dishes to how to make and serve them. Don't worry if you want to prepare Chicons braisés à la bière delicious at home, because if you already know the trick then this dish can be used as an extraordinary special treat.
As for the number of servings that can be served to make Chicons braisés à la bière is 2 personnes. So make sure this portion is enough to serve for yourself and your beloved family.
Just in addition, the time it takes to cook Chicons braisés à la bière estimated approx 20 mins.
To get started with this particular recipe, we have to prepare a few ingredients. You can have Chicons braisés à la bière using 7 ingredients and 6 steps. Here is how you can achieve that.
#belgique #endives
Culture Food:
Officiellement, l'invention du chicon est attribué à Brésiers, le jardinier en chef du jardin botanique de Bruxelles. Il découvrit le chicon pendant l'hiver1834-1835 et par sélections successives produisit un type de chicon bien déterminé qui fit son apparition sur les marchés.
jusqu'au XIXe siècle, les paysans bruxellois cultivaient des légumes sur les sols marécageux aux alentours de Bruxelles. Il cultivaient , notamment de la barbe de capucin dont ils consommaient les racines. L'amélioration de la culture de la première pousse aboutira vers le chicon qu'on connait actuellement . La commune de Schaerbeek est la patrie du chicon belge.
On se retrouve en fin de recette pour une anecdote food .
Ingredients and spices that need to be Take to make Chicons braisés à la bière:
- 3 à 4 endives
- 1 cs sucre roux
- 2 échalotes
- Beurre salé
- 25 cl bière blonde
- 1 cube de bouillon de volaille ou légume
- 1 sachet de gruyère
Instructions to make to make Chicons braisés à la bière
- Épluchez et émincez les échalotes. Les faire suer dans une cocotte allant au four avec un bon morceau de beurre.

- Épluchez, coupez en deux et enlevez le centre de l'endive, les déposez sur les échalotes le dessus en premier, les faires colorer 5 mins puis les retournez et pareil pour l'autre côté, parsemez le sucre dessus puis déglacez avec la bière.


- Émiettez le cube de bouillon dessus et enfournez pour 20 mins a 200 degrés, vérifiez la cuisson en piquant un couteau dedans.


- Une fois cuit, mettre le gruyère dessus et laissez gratiner.


- Une légende véridique ou non de l'origine du chicon
En 1830, un cultivateur, paniqué par les troubles qui se passaient à Bruxelles, cacha une partie de sa production dans sa cave sous une couche de terre. Quel ne fût pas sa surprise quand il déterra ces racines quelques semaines plus tard et découvrit qu'elles avaient produit des pousses blanches aux feuilles bien serrées. Il ne savait pas ce que c'était et dans un premier temps, il fût déçu, il se décida de goûter cet étrange bourgeons blanc
As your experience and also confidence expands, you will find that you have more all-natural control over your diet plan as well as adjust your diet regimen to your individual preferences over time. Whether you wish to serve a recipe that uses less or more components or is a little essentially spicy, you can make easy adjustments to attain this objective. Simply put, start making your dishes in a timely manner. When it comes to fundamental food preparation abilities for beginners you don't need to discover them however only if you grasp some straightforward cooking techniques.
This isn't a complete guide to fast and simple lunch dishes however its great food for thought. With any luck this will certainly obtain your innovative juices flowing so you can prepare scrumptious meals for your household without doing a lot of heavy meals on your journey.
So that is going to wrap it up with this exceptional food Steps to Prepare Favorite Chicons braisés à la bière. Thank you very much for your time. I'm sure you will make this at home. There's gonna be interesting food in home recipes coming up. Don't forget to save this page in your browser, and share it to your loved ones, colleague and friends. Thanks again for reading. Go on get cooking!